
 | |
| Welcome to our Little Corner of the Web! | Your browser can't find the .css style script |
| Home | Kid's Stuff | Carol's Stuff | House Projects | Contacts | Our Links | About Us | |
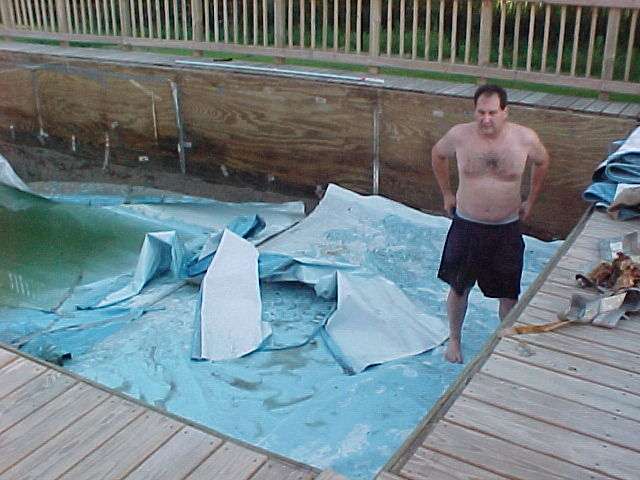 |
In April of 2003, we found that we
really need a new pool liner. This one had split, allowing water
to get to the underside.
The sand walls are starting to slump in. Everybody we called said, "after the 4th of July" OUCH! |
|
For the month of May, we called every pool
guy in town to quote the job, but nobody seemed to interested.
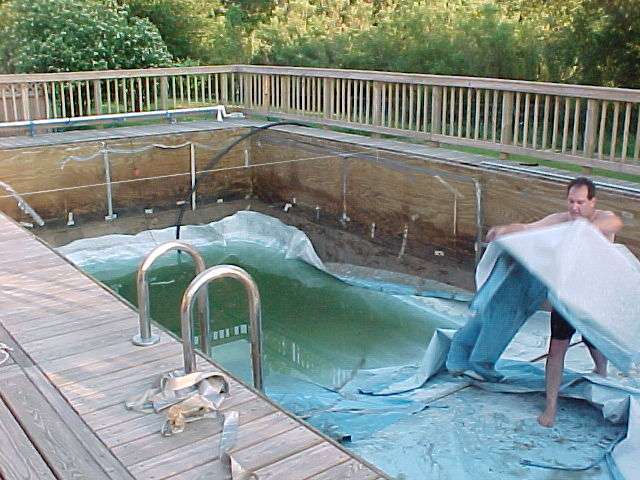
All of the quotes where out of this world $$ and took forever! Al, at Michigan Pool Products said he could get us a liner in 4 days, for cheap! So at the end of June, we decided to do it ourselves! We drained it down and measured for the new liner. |
 |
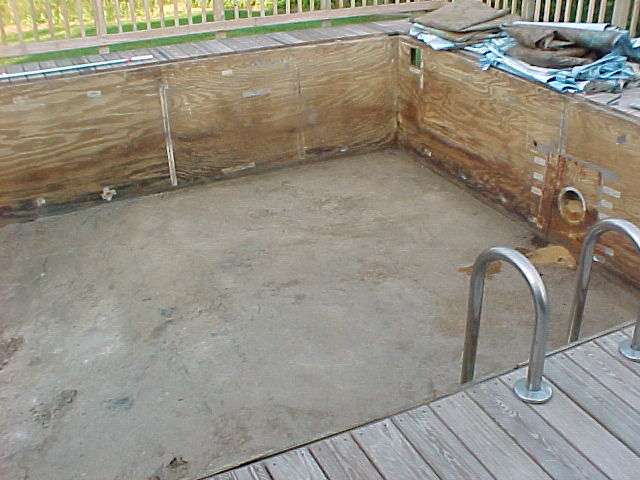 |
We found an old light niche that was covered up with rusty tin, we need to fix that! |
|
The old bottom was "pool base" It's a concrete
and vermiculite mixture, and has crumbled into shards of small sharp junk!
Al said it all "has to go" We found out later, the quotes we did get, didn't include that removal, so we would have been "hosed" when they found that!!! |
 |
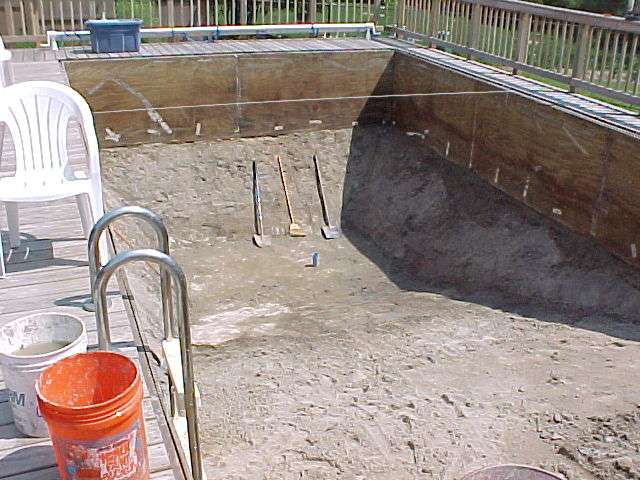 |
We scraped out about 2 yards of old sand/concrete from the bottom. Everything went out in buckets to the dump. That's a lot of bucket loads!! |
|
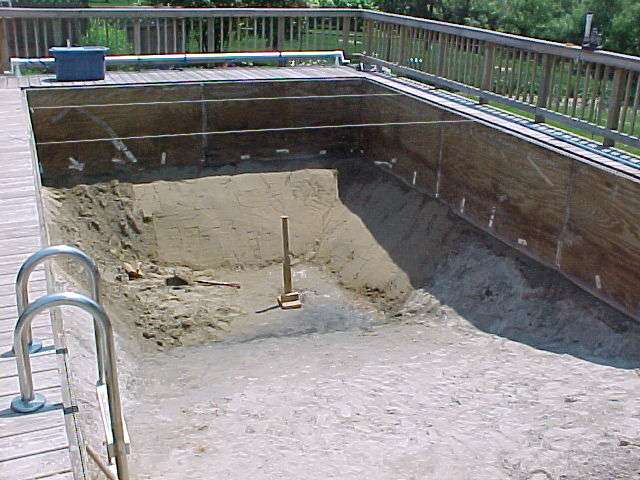
We started to string the breakpoints for
the liner corners, when we realized we ordered the liner to WRONG SIZE!!!
Ouch, it's too late to change, so we needed about 6 yards of sand to make the pool bottom fit the new liner!! Nooooooo....... What a bonehead mistake!! Please, don't EVER round UP on a hole size! Every inch of thickness is a ton of sand! |
 |
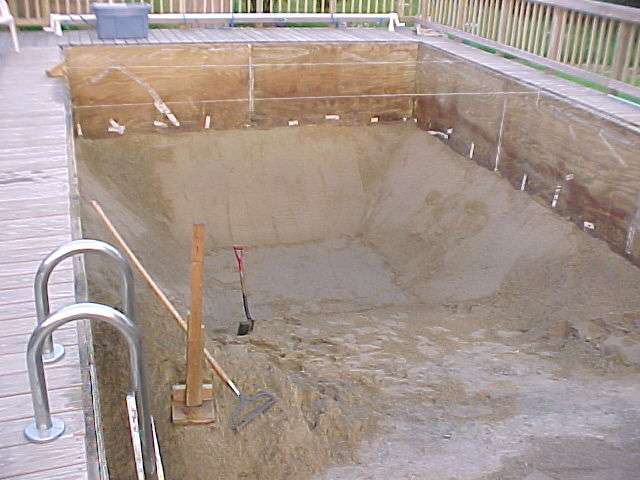 |
We hauled in 6 yards of sand with buckets
and a wheelbarrow. That's a lot of trips!! and a lot of sand.
We had to tamp it firm for every 2 inches of buildup, the lower part of the sides where built up over 8 inches thick. Blisters and sunburn for all!!! |
| Then we used a mason's trowel and smoothed out the surface. Will it ever end... It's the worlds biggest litter box!! | 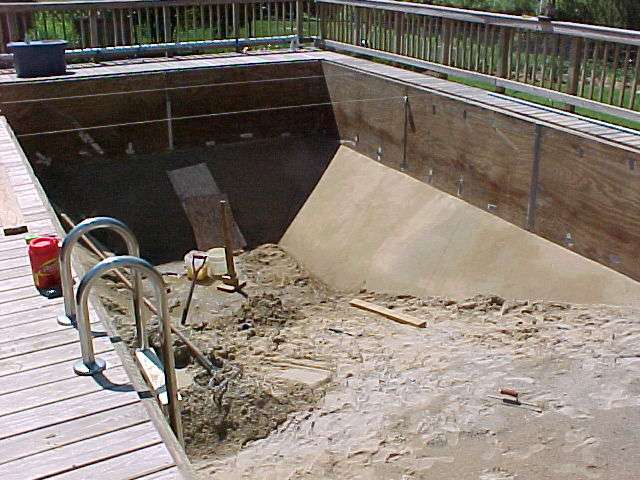 |
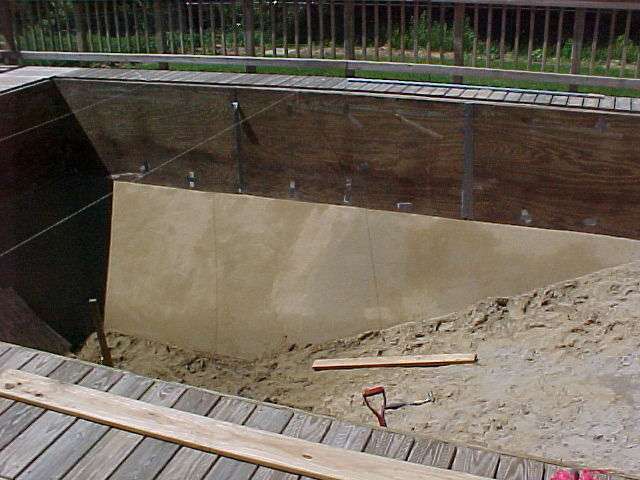 |
We got pretty good at making a nice smooth surface. Hey, it looks just like the pictures the pros had showed us! |
| We worked our way around the pool bottom, spreading, tamping and smoothing the sand base. The temps were in the 90's with a hot sun! | 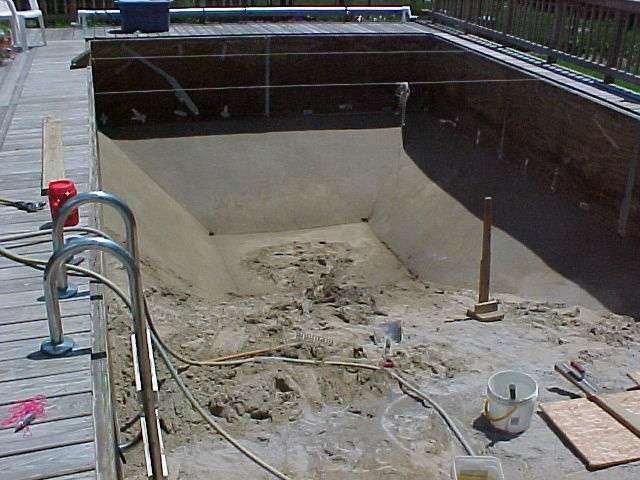 |
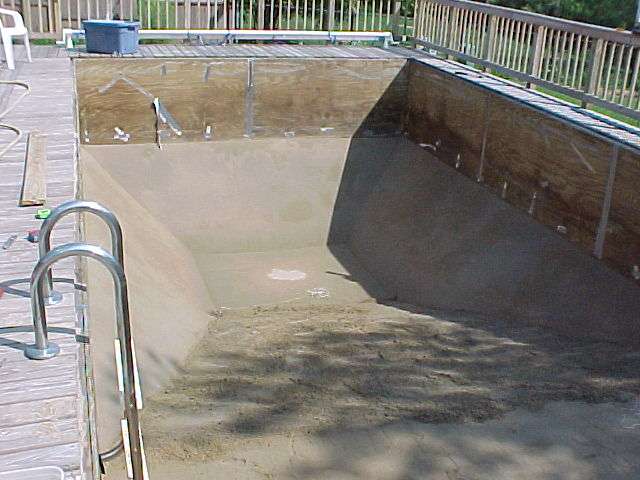 |
All that was left to finish was the sloped face and the shallow area. |
| We taped all of the seams in the plywood sides, and finished tamping and smoothing the bottom sand. | 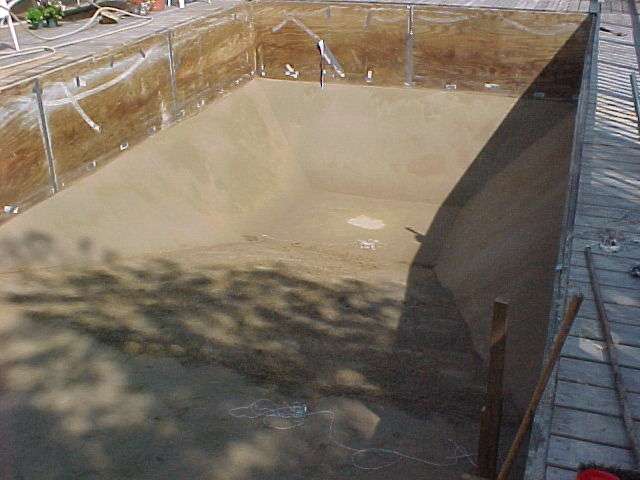 |
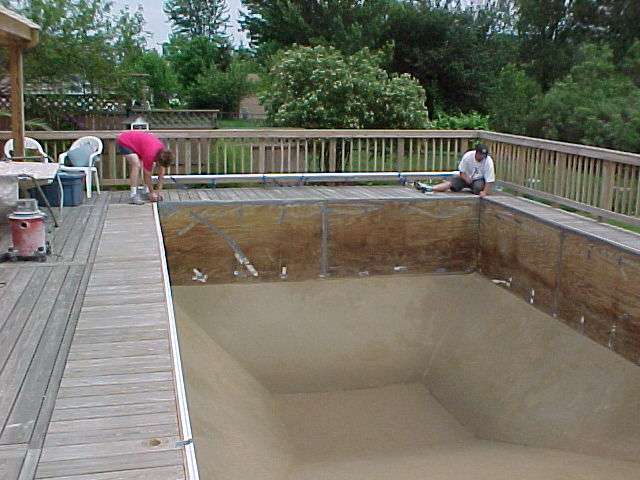 |
When everything was smooth and packed, we started to get ready for the liner. All of the sharp edges are fixed, seams taped and sand smooth. |
| With the sand base done, and a new white channel around the top to snap the liner to, we where ready for the liner!! | 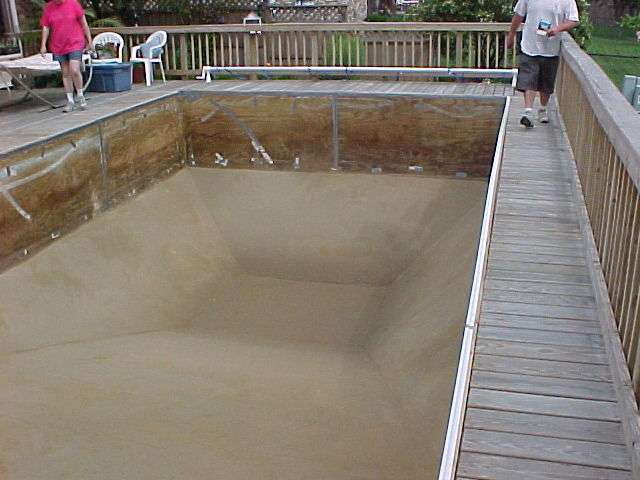 |
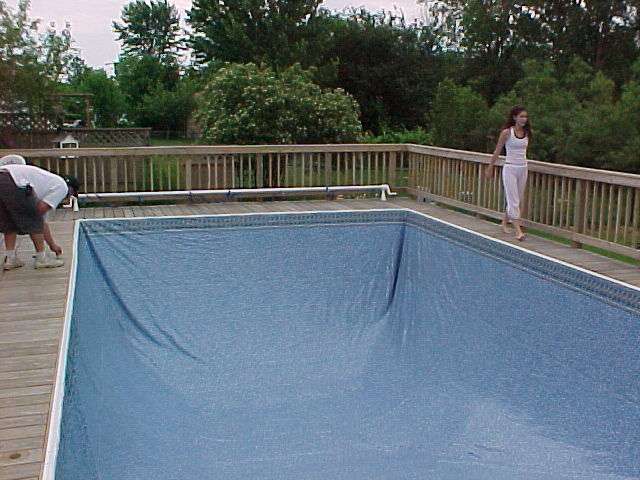 |
We gathered up a some help, Thanks Mark!,
then we just dropped the new liner in. It took the four of us about 15 minutes to cover up the 4 days of sand work! What a sight! |
|
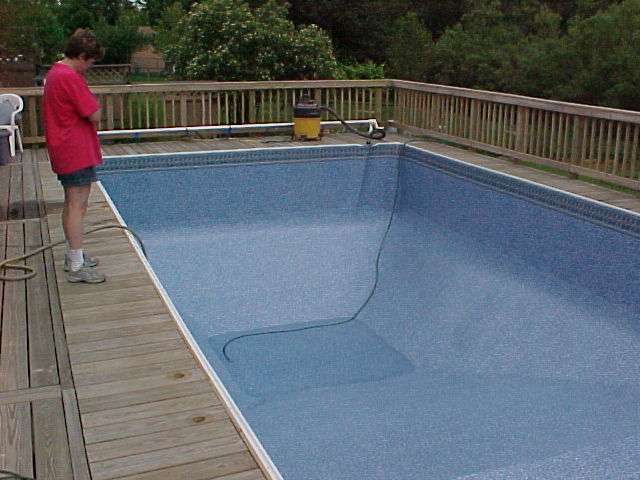
We used a shop vacuum to suck all of the
air from behind the liner, pulling it tight to the walls, smoothing ALL
of the wrinkles, then we started to add the water.
At about 3 inches per hour, it took about 2 days of filling |
 |
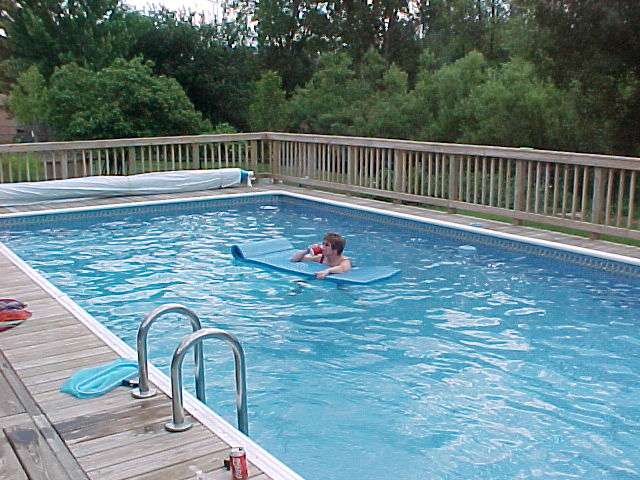 |
Finally, it's full! Not a wrinkle
in sight! All of the plumbing work installed, we had it ready before
the 4th of July weekend too!
We are about a week ahead, and over $2K lower than the quotes! I bet we got a nicer job too! What fun, sure it was a lot of hard work, with plenty of blisters, but it was a job well done! It's like a new pool! Stop over for a swim!!!! |