 |
August 1, 2003
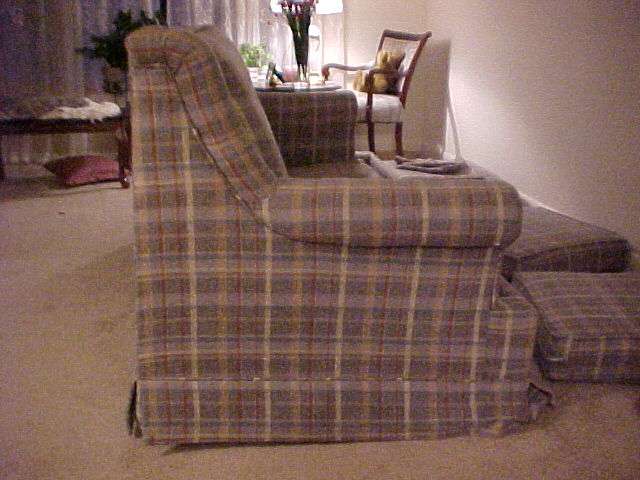
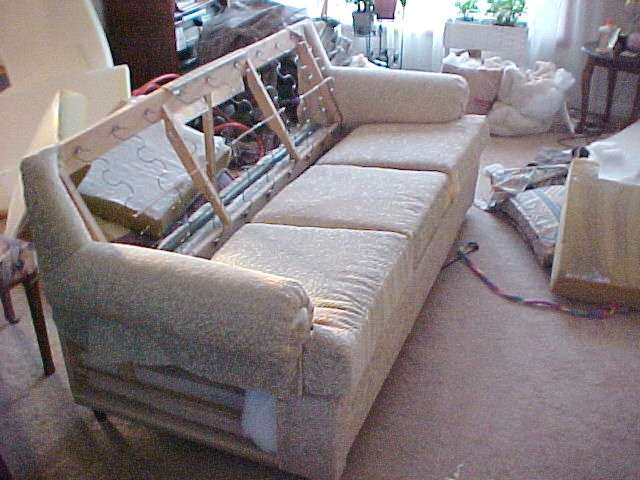
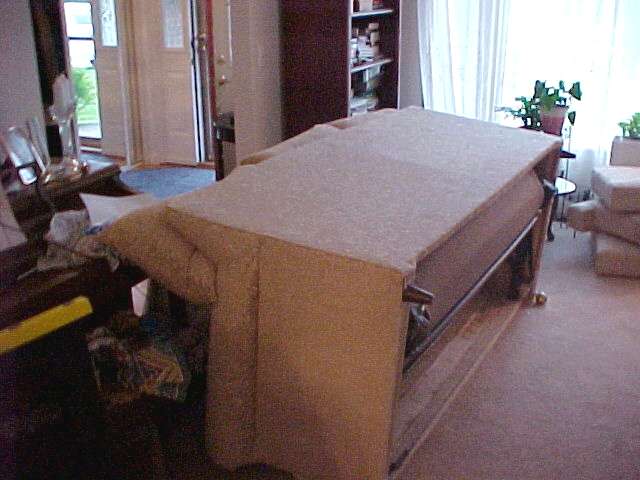
This is a side view of our old couch.It's served us well for many years, but it was getting old and tattered
It didn't really fit in well with our updated kitchen & family room.
We decided to recover the old frame, I really wanted a cool project, and the new couches we looked at where so
expensive, and built junky.
|
|
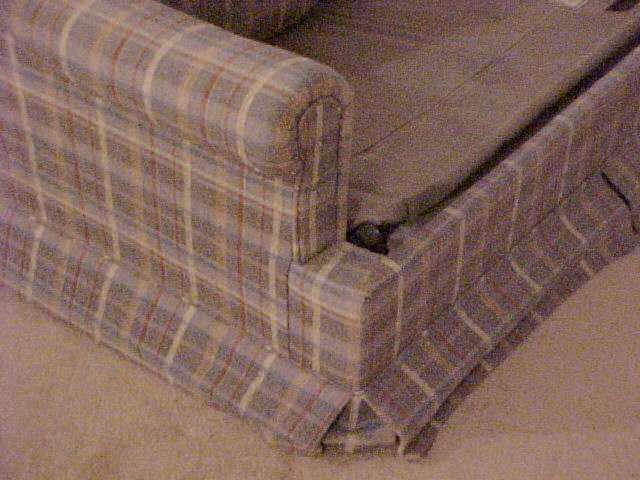
The arms where getting all smashed down
and had hard spots in them, and the look was kind of dated too.
|
 |
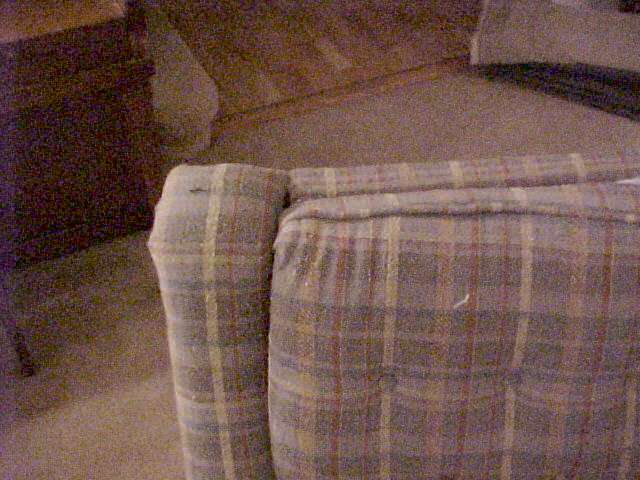 |
This is the back cushion, they where starting to rip away from the
frame, that's what really started the project.
The cushions stop at the frame, we wanted them to overlap the frame,
this means some woodwork!
|
|
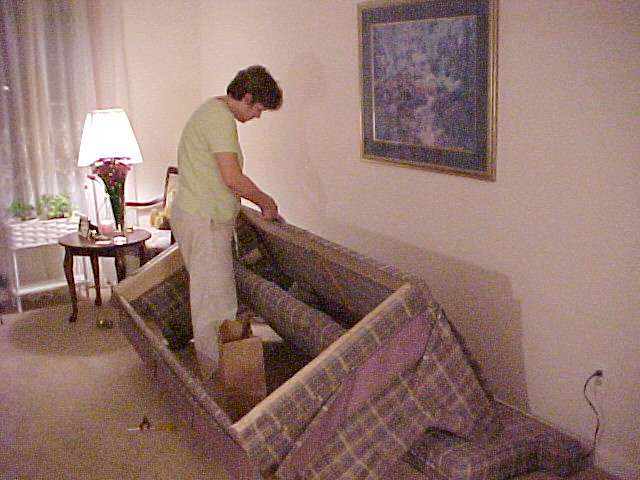
So we carefully removed the covering, making notes and taking pictures as we went along.
|
 |
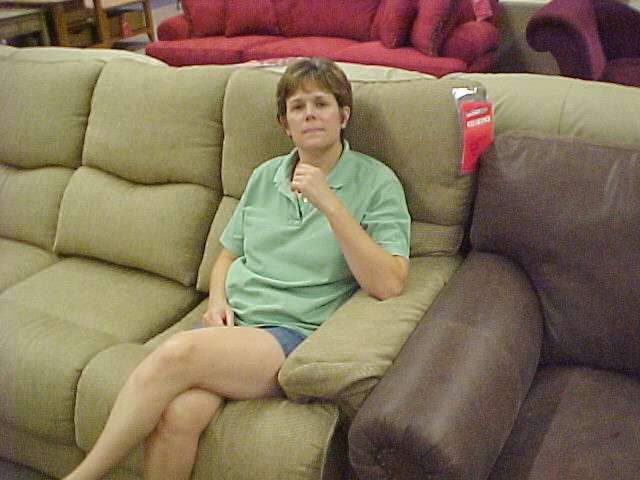 |
We went back to the stores to look at the couches we liked, we took
a few measurments and got a few design ideas.
Now that we have the plan, let see what we can do!
|
|
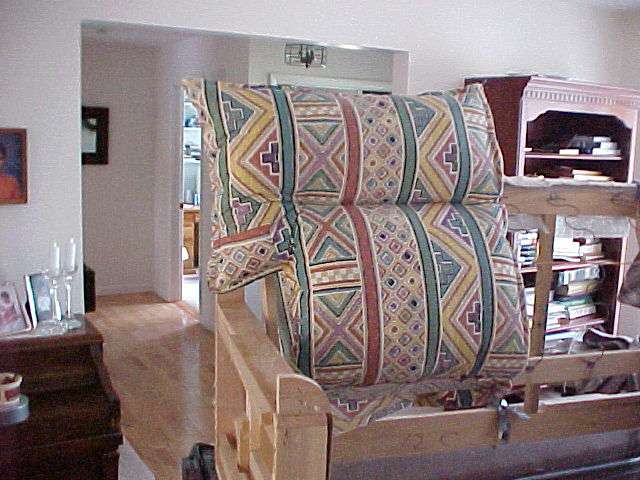
We removed the wood frame from the old arm, and I took my first pass at the new pillow back design,
I used some funky old sheets as material, it's easy to work with (and free too!)
|
 |
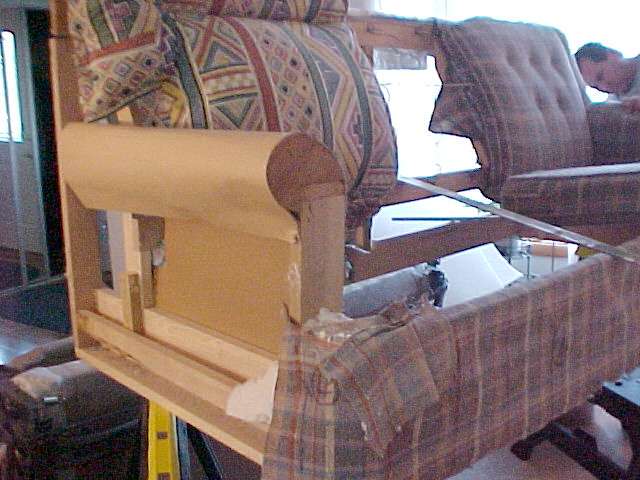 |
We cut some new wood for the arms, and covered it with new paper board to get the form right
|
|
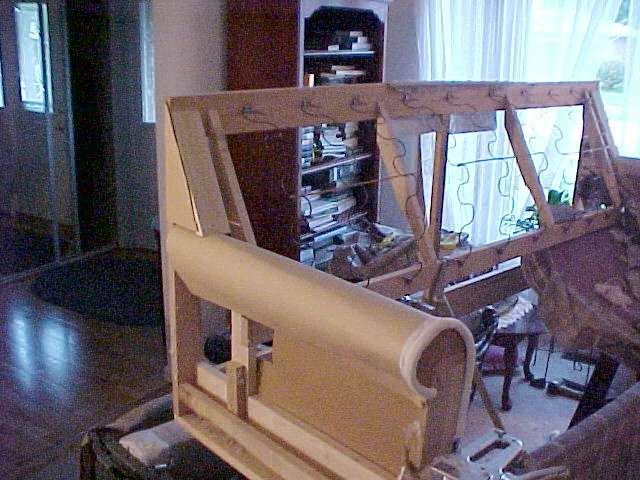
We next added the angled upper section of arm that the cushions will
overlap. That about completes the woodwork, now on to the hard parts!
|
 |
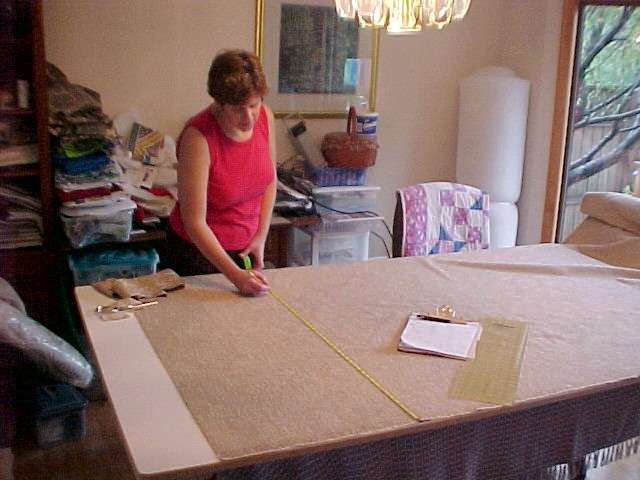 |
I made drawings of all of the parts we will need, and started to cut
the first of them out of the new material I found.
|
|
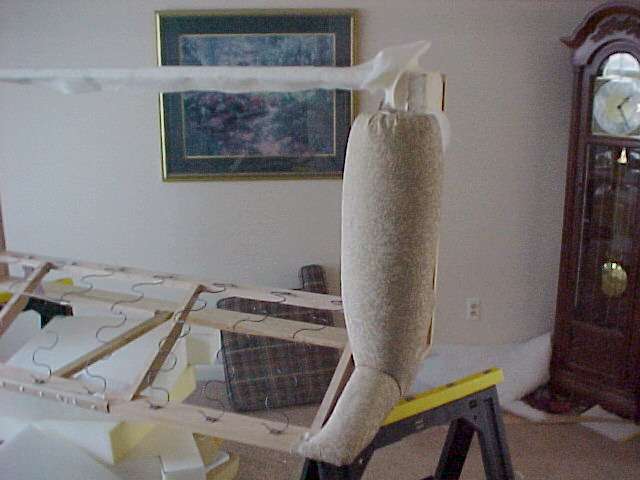
We re-padded the new arm and hand stapled the new covering over it.
It's slowly starting to take shape! I found an old Lazyboy recliner
that we want to re-cover for our cottage. With a few projects in
mind, we ordered an air staple gun, we're awaiting it's arrival so we can really get going!
|
 |
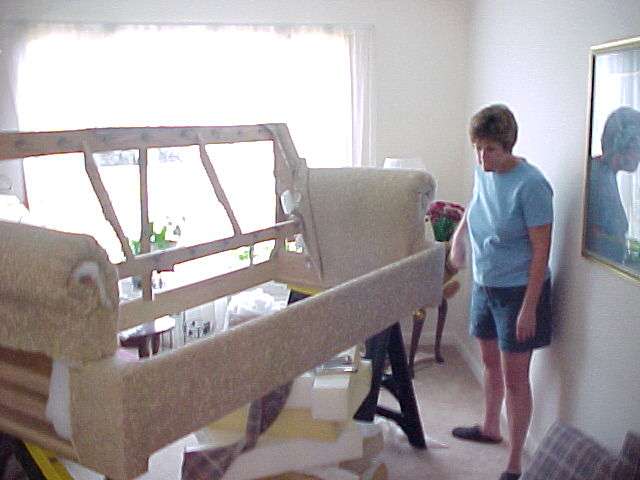 |
I have both of the arms covered, now it's on to the seat cushions.
|
|
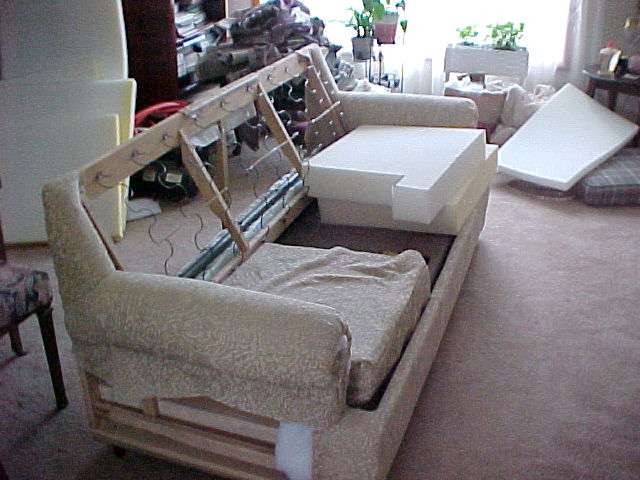
The foam is cut, now on to the covers
|
 |
 |
There, all 3 covers are on, still a few wrinkles, but I think I can work
those out. Time for the seat backs!
|
|
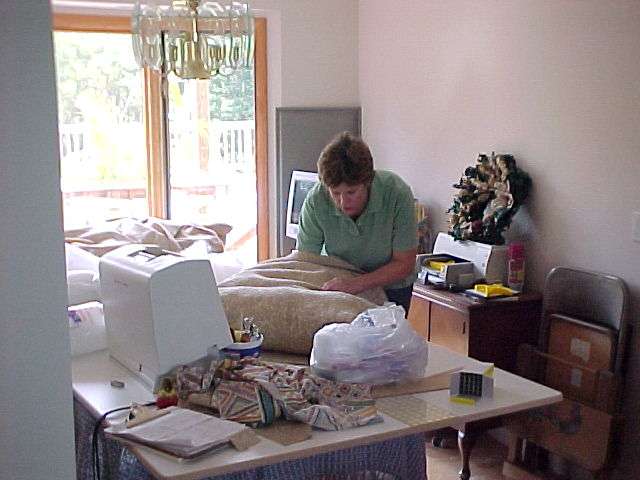
I finished sewing the seat backs, now it's time to stuff them with fluff.
|
 |
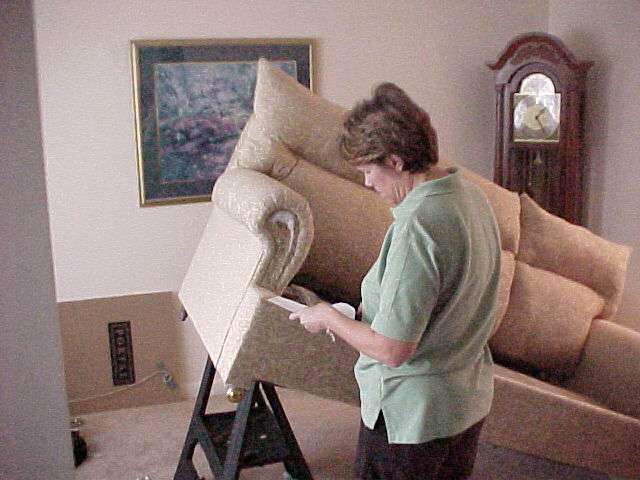 |
Here the seat backs and both sides are installed. I'm cutting a template to make a cover for the arm fronts
|
|
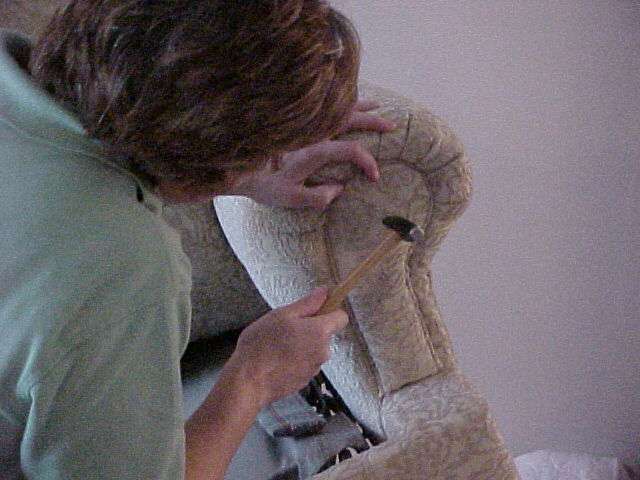
We cut thin wood and covered it with fluff and fabric.
Then I nailed them in place to finish off the arms.
|
 |
 |
With the arms done, we attached the back fabric to finish up.
The only thing left is the skirt around the bottom edge.
|
|
There! Finally it's finished!
|
 |


